Contents
- Index
Joining Users to Group / Special Rights
From the Security menu, select Join Users to Groups / Special Rights.
Join User to Group
Once you have created users, groups (or departments), and roles, the Join User to Group form is used to add users to groups. By selecting the appropriate role, you can determine what a specific user can do inside a certain group.
For more help and understanding how Docs2Manage (D2M) integrates security read the Security and D2M section.
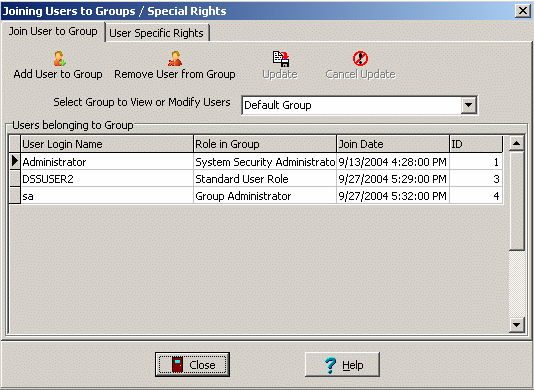
To join a specific user to a group:
1. Select the desired group from the drop-down list.
2. Click the Add User to Group button.
3. Select a User from the drop-down list..
4. Click the Okay button. User will appear in the User-Group grid view.
5. Click on the Role in Group cell that corresponds with the User and select a Role from the drop-down list.
6. Click the Update button.
7. To join more users to a group, repeat steps 1-6.
Read the below section if you would like to override some of the role rights for a specific user.
User Specific Rights
To reduce the need for a large number of roles with different collections of rights, the User Specific Rights form is used to override role rights by either granting or revoking rights for a specific user and security group. This may be most useful when you have users that almost have the same roles except for one or two right differences.
For example, if you have a Standard User role that includes the ability to scan documents (CanScan), this form will allow you to remove that right from a particular user in a group even though the role allows it. User specific rights ALWAYS override those rights in a role. Likewise, if a role did not include the scan right, this can be added or granted to a specific user.
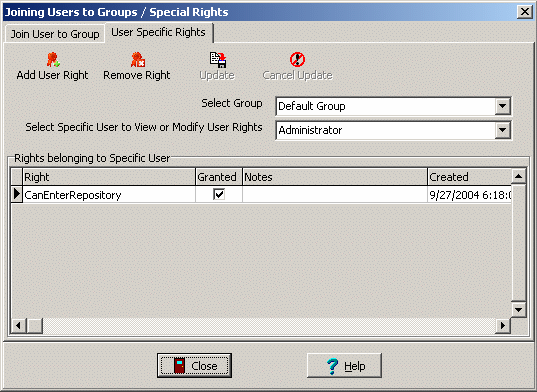
To add (or revoke) a specific right for a user:
1. Select the security group (department) from the drop-down list.
2. Select the user from the drop-down list.
3. Click the Modify User Right button.
4. Select the specific Right from the drop-down list in the grid.
5. Check a right's Granted checkbox to grant of the right (unchecked revokes the right).
6. Click the Update button.
7. To create more user specific rights, repeat steps 1-6.
NOTE: Regardless of what rights a user has within a group, the user specific rights will always override the role's rights, even if you edit the roles in the future. ..